Walking into a beautifully finished room, you might notice it simply “feels complete” without being able to pinpoint exactly why. The secret often lies in the thoughtful application of millwork throughout the space. Like a well-tailored suit, properly selected and installed millwork creates clean lines, elegant transitions, and a polished appearance that elevates the entire room.
Let’s take a journey from ceiling to floor to understand how each millwork element contributes to a cohesive, professionally finished space.
Starting at the Top: Crown Molding and Ceiling Details
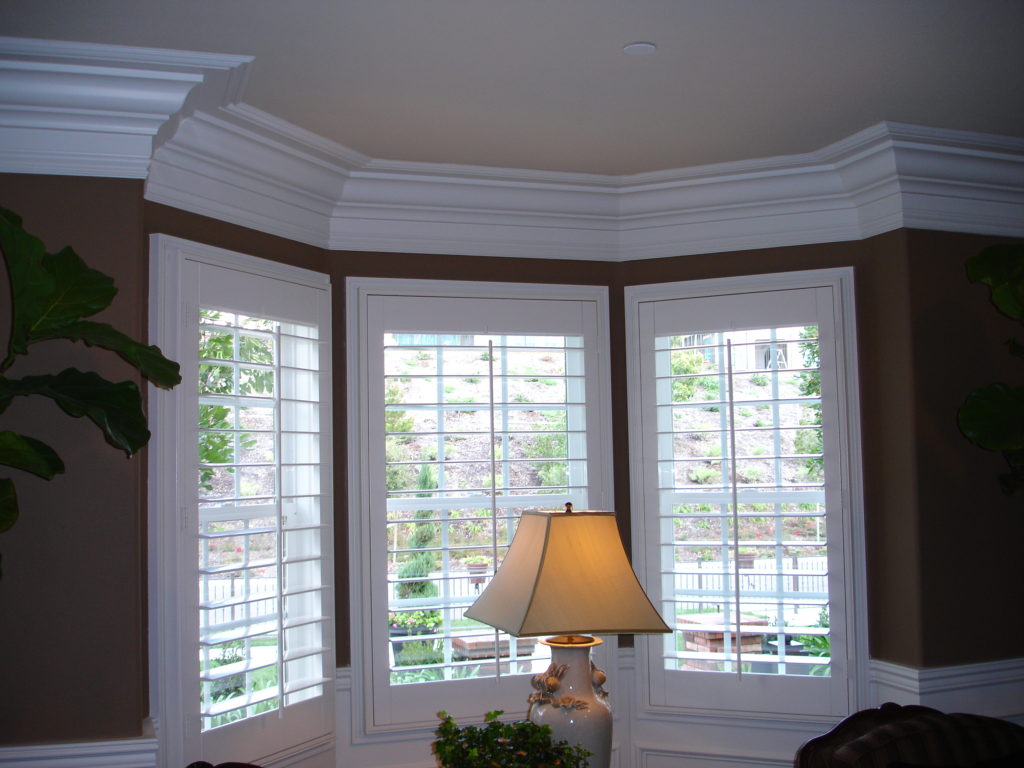
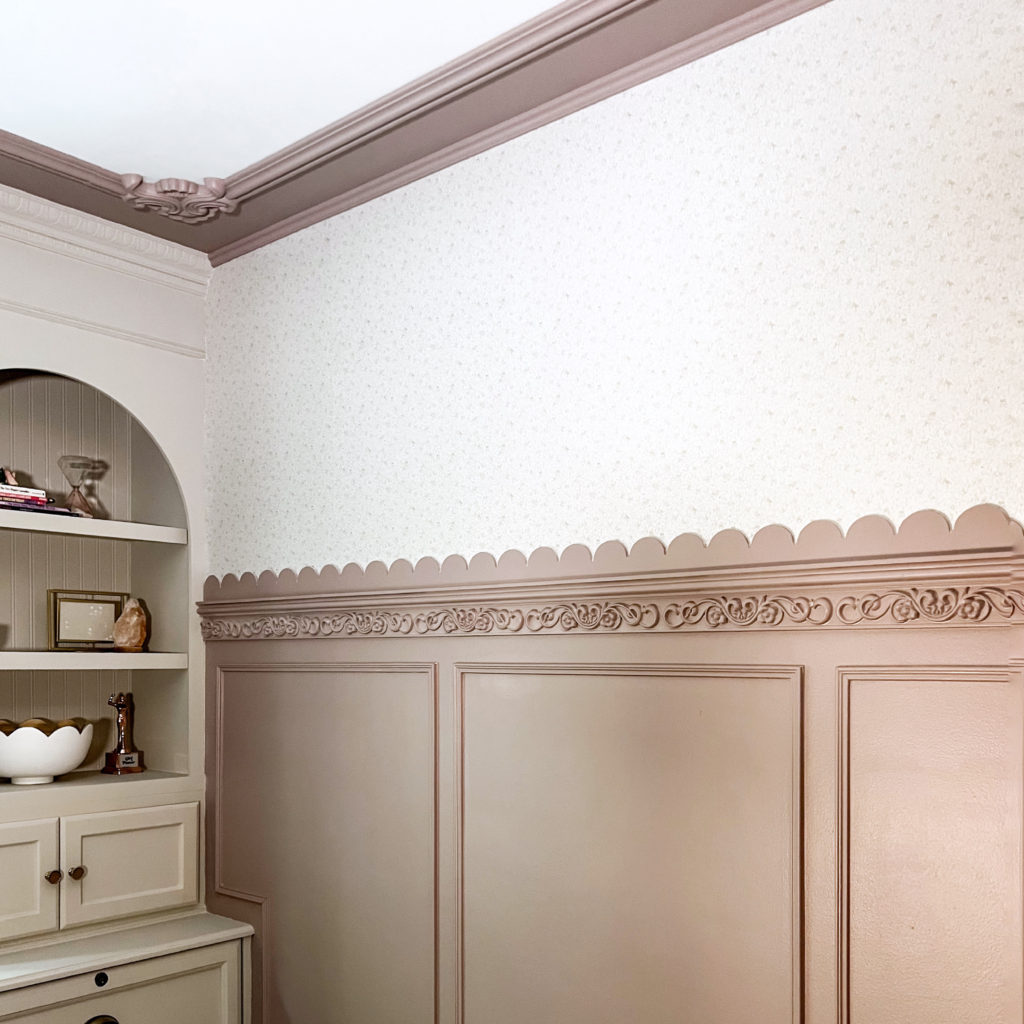
The ceiling is often called the “fifth wall” of a room, yet it’s frequently the most neglected. Crown molding creates an elegant transition between your walls and ceiling, drawing the eye upward and making rooms feel more spacious and intentional.
Crown molding comes in profiles ranging from simple cove styles for minimalist spaces to ornate, multi-piece assemblies for traditional homes. The general rule is that larger rooms with higher ceilings can accommodate more substantial crown molding profiles, while smaller spaces benefit from simpler, more delicate designs. A standard 8-foot ceiling typically looks best with crown molding between 3 to 5 inches in height, while 10-foot ceilings can handle profiles of 5 to 7 inches or more.
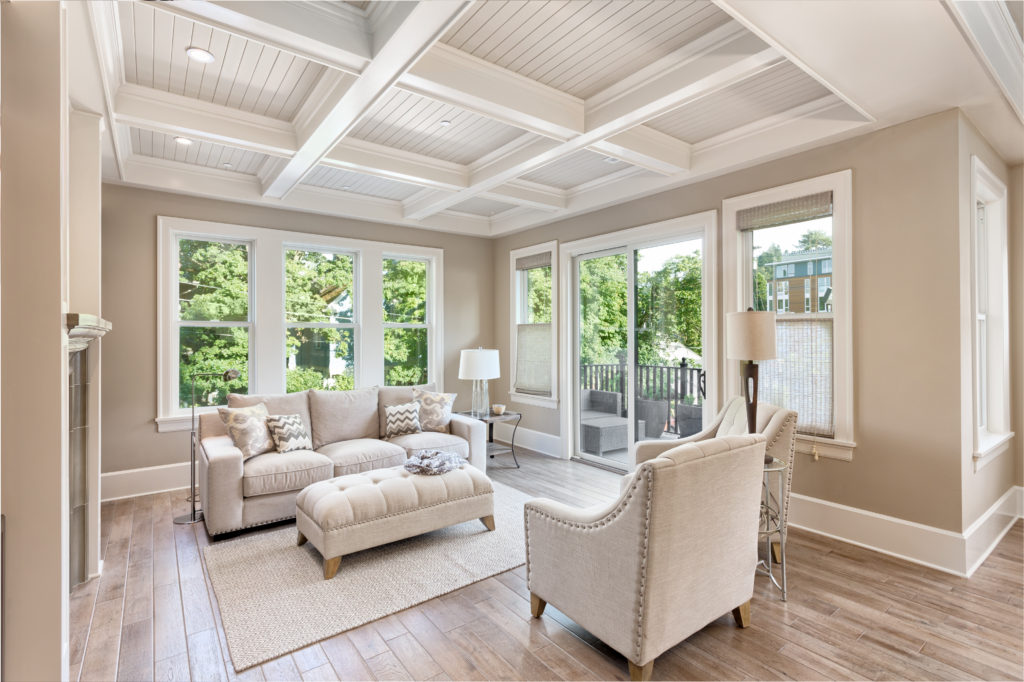
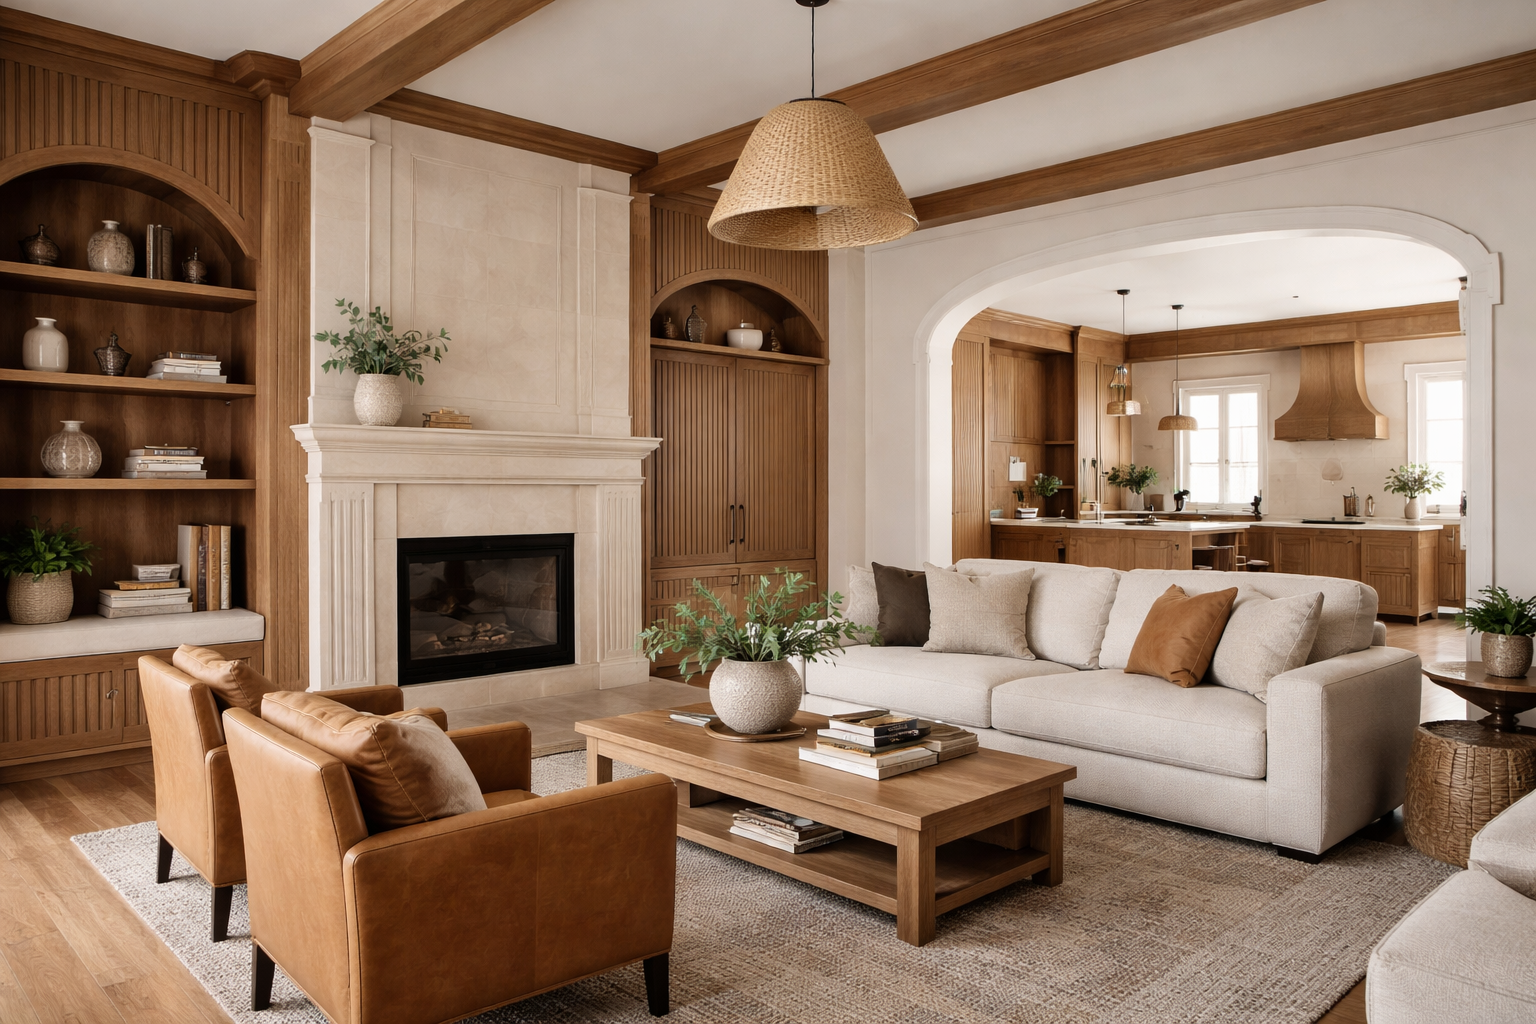
For rooms seeking additional architectural interest, coffered ceilings or decorative ceiling beams add depth and character. These elements work particularly well in dining rooms, libraries, and primary bedrooms where you want to create a sense of luxury and craftsmanship. Even in homes with standard ceiling heights, faux beams made from lightweight materials can provide visual impact without the structural requirements of solid wood.

Ceiling medallions offer another opportunity to add elegance overhead, particularly in rooms with chandeliers or statement light fixtures. These circular or ornamental designs draw attention to your lighting while adding a touch of classical architecture. Medallions range from simple, understated rings just a few inches in diameter to elaborate, ornate designs spanning two feet or more. In formal dining rooms, entryways, or bedrooms, a well-chosen ceiling medallion becomes a focal point that enhances both your lighting fixture and the overall room design.
Mid-Level Elegance: Wall Treatments
Moving down from the ceiling, the walls themselves offer multiple opportunities for millwork enhancement. Wainscoting and wall paneling have experienced a major resurgence in recent years, and for good reason: they add texture, protection, and architectural interest to otherwise plain walls.
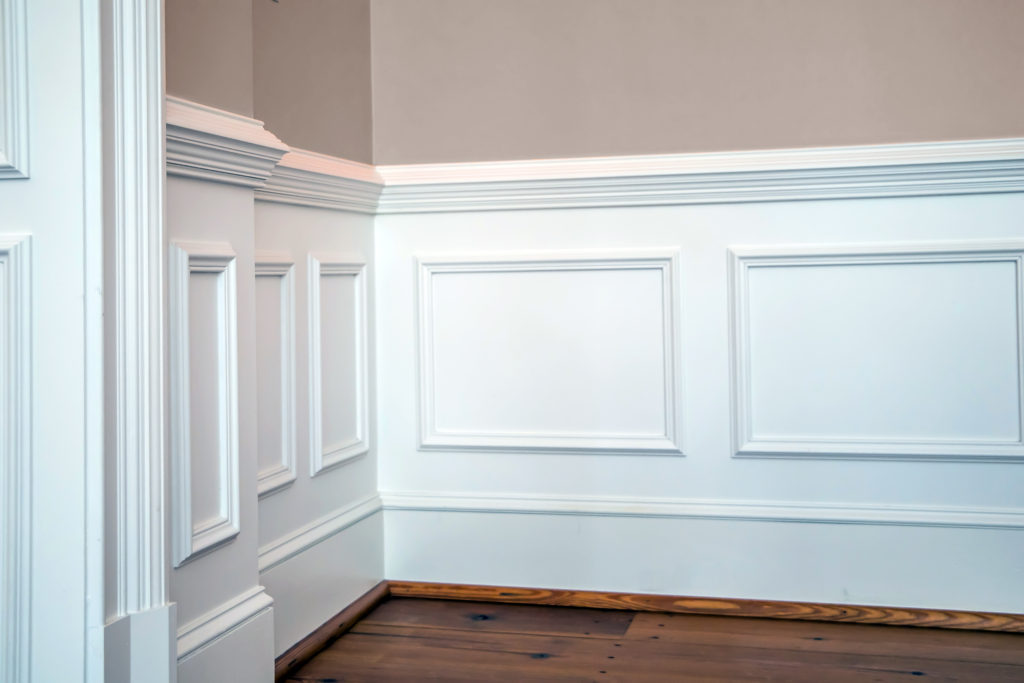
Traditional beadboard wainscoting works beautifully in coastal, cottage, or farmhouse-style homes, typically installed to a height of 32 to 36 inches. Board-and-batten creates bold, graphic lines perfect for modern farmhouse aesthetics, while raised panel wainscoting brings formal elegance to dining rooms and traditional spaces. For a more contemporary approach, flat panel wainscoting with simple, clean lines offers sophistication without ornate details.
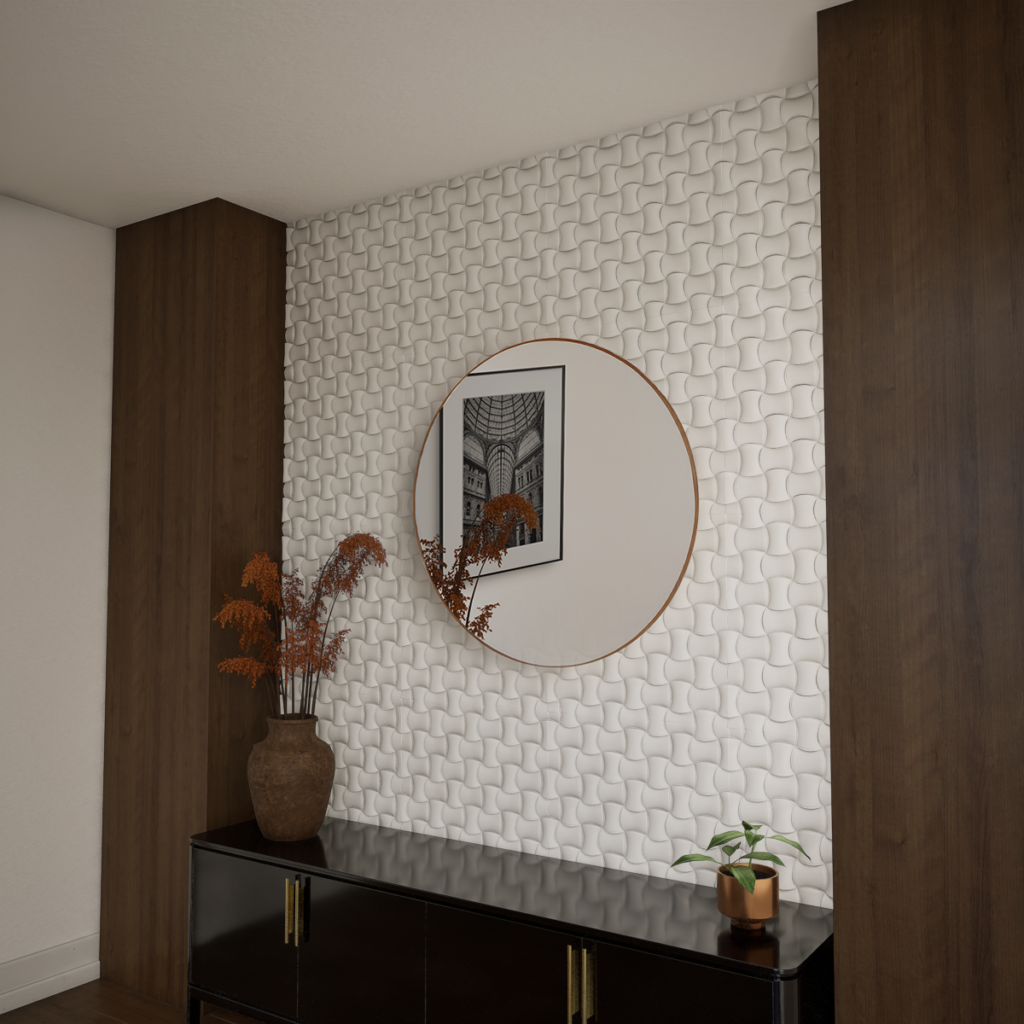
Full-height wall panels take the concept further, covering entire walls from floor to ceiling. These can transform ordinary rooms into extraordinary spaces with old-world elegance or modern sophistication, depending on the panel style. Shaker-style panels with simple recessed rectangles suit both traditional and transitional interiors, while more ornate raised panels create formal, classical spaces. Modern interpretations using wider stiles and rails with minimal detail work beautifully in contemporary settings. Wall panels are particularly impactful in studies, libraries, dining rooms, and primary bedrooms where you want to create an intimate, refined atmosphere.
Chair rail molding traditionally served the practical purpose of protecting walls from chair backs, but today it’s primarily a design element that adds horizontal definition to walls. Installed at approximately one-third of the wall height (typically 32 to 36 inches from the floor), chair rail creates an opportunity for two-tone paint treatments and helps break up expansive wall surfaces in larger rooms.
Picture rail molding, installed 12 to 18 inches below the ceiling, adds another layer of traditional detail while providing a functional hanging system for artwork without putting holes in your walls.
Vertical Statements: Columns and Pilasters
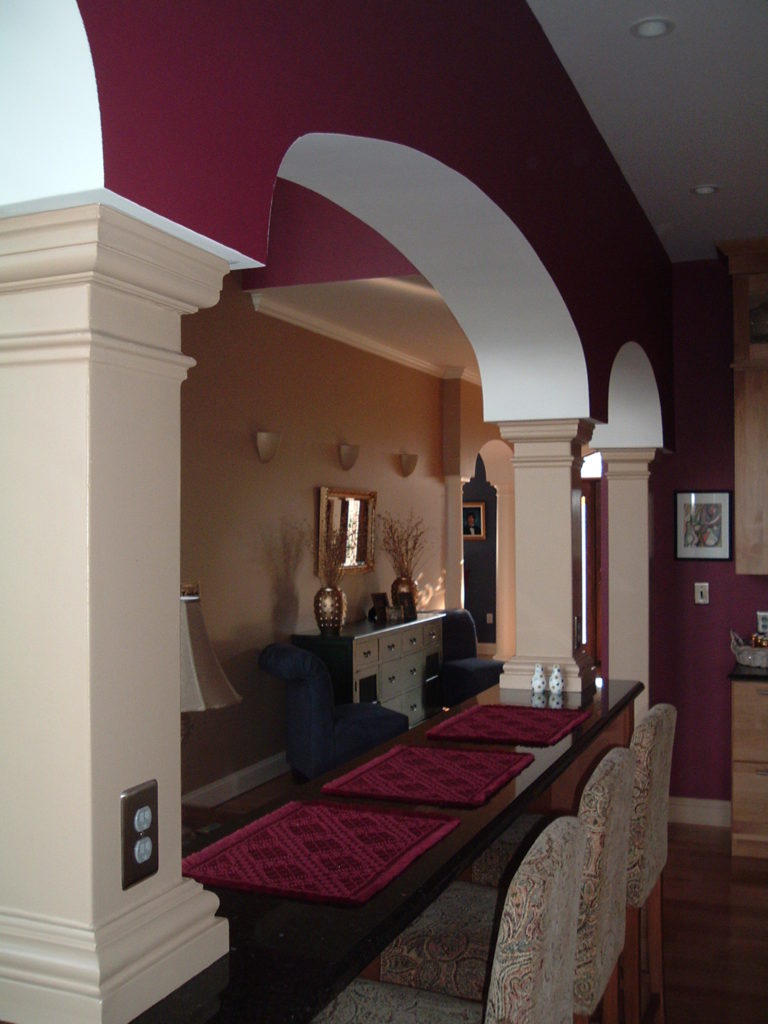
Columns bring dramatic architectural presence to both interiors and exteriors. While we often associate columns with grand porches and entryways, interior columns serve important functions as well. They can provide structural support while adding beauty, define spaces within open floor plans, or frame important architectural features like fireplaces or archways.
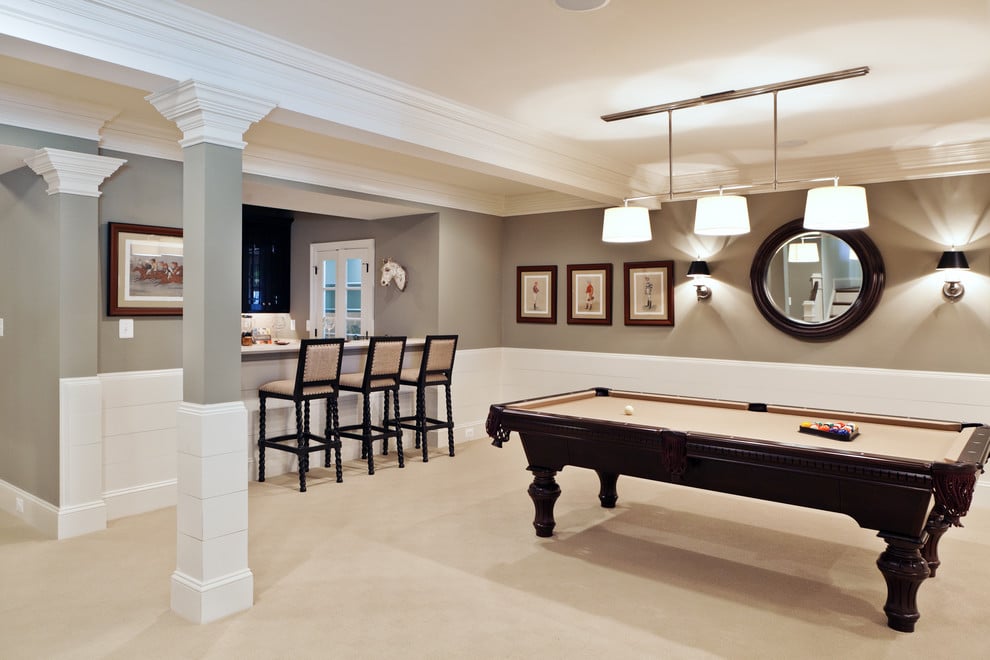
Column styles range from classical orders (Doric, Ionic, and Corinthian) to simpler, more contemporary square or rectangular designs. Full columns extend from floor to ceiling, while half-columns and pilasters (flat columns attached to walls) provide the architectural impact of columns in spaces where full-round columns aren’t practical. Pilasters work particularly well flanking doorways, fireplaces, or built-in cabinetry, adding vertical emphasis and classical proportions.
For homes with open floor plans, columns can help define distinct areas without closing off sightlines. A pair of columns between a living room and dining area, for instance, creates a visual boundary while maintaining the open, flowing feel. In basements, utilitarian support posts can be wrapped with decorative column treatments that transform necessary structural elements into design features.
Framing Your Views: Door and Window Casings
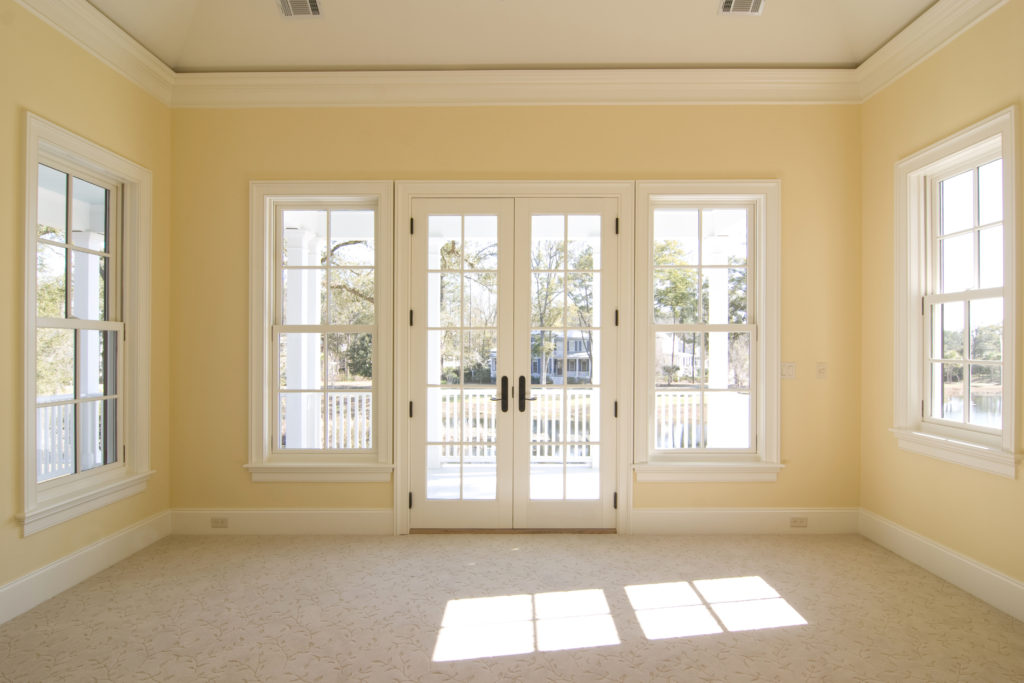
Every door and window opening is an opportunity to add character and visual interest. Door casings and window trim create frames that highlight these architectural features while covering the gaps between the jambs and walls.
Casing profiles should complement your overall design style. Simple, flat casings with minimal detailing suit modern and contemporary spaces, while traditional homes benefit from more elaborate profiles with multiple steps and decorative elements. Many designers recommend that door and window casings be slightly wider or more substantial than your baseboard to create proper visual hierarchy.
Beyond standard casings, rosette blocks at the corners add a decorative flourish to craftsman and Victorian-style homes. Plinth blocks at the base of door casings create a transition point between the casing and baseboard, adding another layer of traditional detail.
Window treatments extend beyond simple casings to include window stools (the interior sill) and aprons beneath. These elements not only provide functional surfaces but also create shadow lines and depth that enhance the window’s presence in the room.
The Foundation: Baseboard and Base Shoe
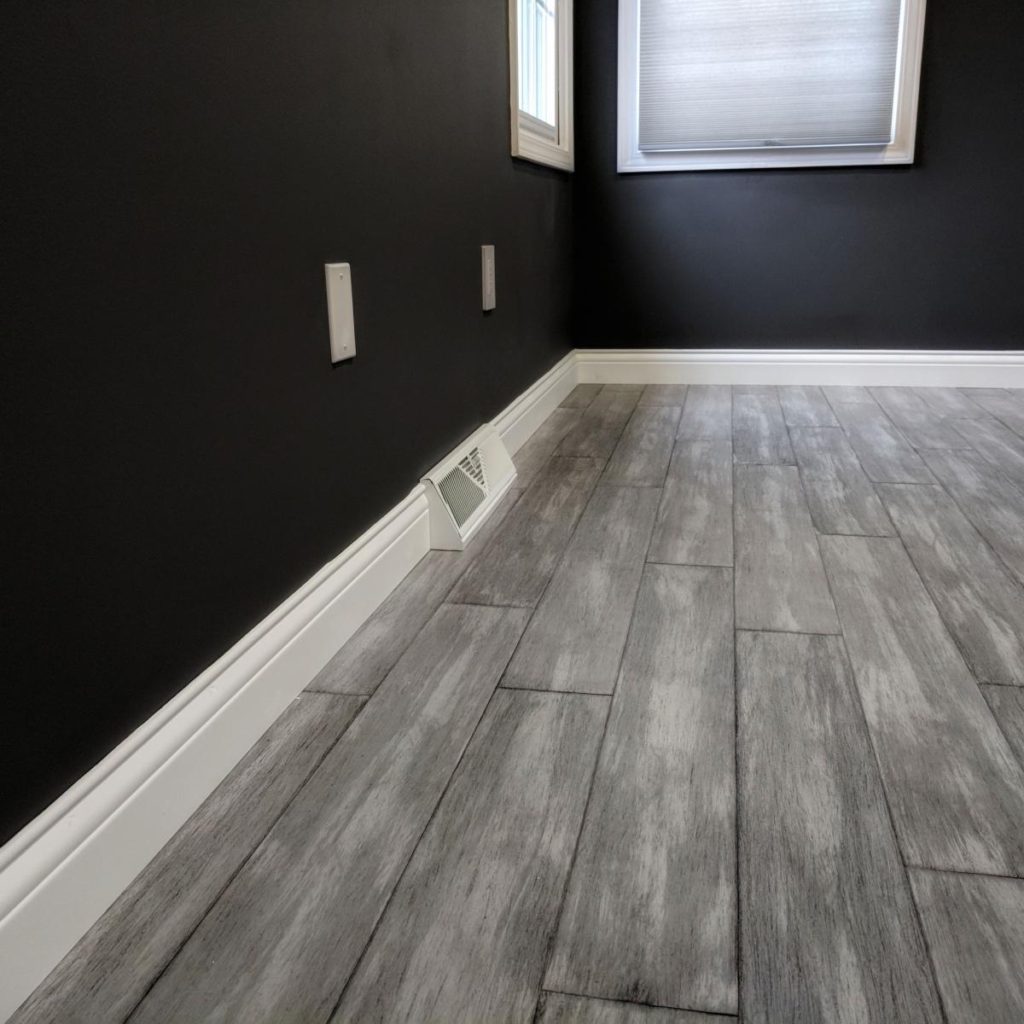
Your baseboard might be the hardest-working millwork element in the room. It protects your walls from vacuum cleaners, mop handles, and furniture, covers the joint between the wall and floor, and creates a visual foundation for the entire space.
Baseboard height and profile should scale with your room proportions. Standard 3 to 5 inch baseboards work for most spaces with 8-foot ceilings, while taller ceilings can accommodate baseboards of 6 to 8 inches or even taller. The profile can range from simple, modern designs with minimal detail to elaborate multi-piece assemblies in traditional homes.
Base shoe (or base cap) is a small molding installed at the bottom of the baseboard where it meets the floor. This quarter-round or shoe-style molding serves a crucial function: it covers any gaps created by uneven floors and provides a finished appearance even when flooring isn’t perfectly flush with the wall. In homes with particularly uneven floors, base shoe is essential for a professional-looking installation.
Coordinating Your Millwork Elements
While each millwork element serves its own purpose, the magic happens when they work together as a coordinated system. Here are key principles for creating harmony:
Maintain consistent reveals. The reveal is the small setback or offset where different pieces of millwork meet. Keeping these consistent throughout a room (typically 1/8 to 1/4 inch) creates a professional, intentional appearance.
Match your profiles. Your millwork doesn’t need to be identical throughout, but elements should share a common design language. If you choose crown molding with curved profiles, select door casings and baseboards with complementary curves rather than stark, modern angles.
Consider proportion and scale. Millwork should feel balanced within your space. A massive 8-inch baseboard might overwhelm a small bathroom, while delicate 3-inch baseboard can look insubstantial in a grand living room with 10-foot ceilings.
Think about sightlines. Stand in your doorways and consider which millwork elements will be visible from various vantage points. Rooms that flow into each other benefit from consistent millwork choices that create visual continuity.
Material Matters: Choosing the Right Wood
The species of wood you select impacts both the appearance and performance of your millwork. Paint-grade options like poplar and MDF offer smooth surfaces perfect for painted finishes and are often more budget-friendly. For stain-grade applications where you want to showcase wood grain, oak offers durability and prominent grain patterns, maple provides a smooth, uniform appearance, and cherry develops a rich patina over time.
Moisture-prone areas like bathrooms and kitchens may require more careful material selection or moisture-resistant options to prevent warping and damage over time.
Installation Considerations
While some millwork installation projects make excellent DIY undertakings, others benefit from professional expertise. Installing baseboard and simple door casings falls within reach of most handy homeowners with basic tools. Crown molding installation, particularly with compound miter cuts, requires more skill and precision. Complex projects involving built-up crown assemblies, intricate wainscoting patterns, or custom panel work often justify the investment in professional installation to ensure proper execution.
Regardless of who installs your millwork, proper preparation is essential. Walls should be smooth and primed, and you should account for the millwork dimensions in your overall room planning, particularly around doors, windows, and built-in elements.
Finishing Touches
The final appearance of your millwork depends significantly on proper finishing. Caulking fills small gaps and creates seamless transitions between millwork pieces and between millwork and walls. Wood filler addresses nail holes and minor imperfections. Multiple coats of paint or stain with light sanding between coats create a durable, professional finish that will last for years.
Bringing It All Together
A well-dressed room doesn’t happen by accident. It results from thoughtful selection and careful installation of millwork elements that work together to create a cohesive whole. Whether you’re renovating a single room or building a new home, taking time to plan your millwork strategy from ceiling to floor ensures that every element contributes to a polished, complete appearance.
The beauty of millwork lies not just in the individual components but in how they interact to define and elevate your space. From the crown molding that adds height and elegance to the baseboard that grounds the room, each element plays its part in transforming bare walls into a finished, sophisticated environment. By understanding these essential millwork elements and how they work together, you can create rooms that don’t just look complete: they look exceptional.